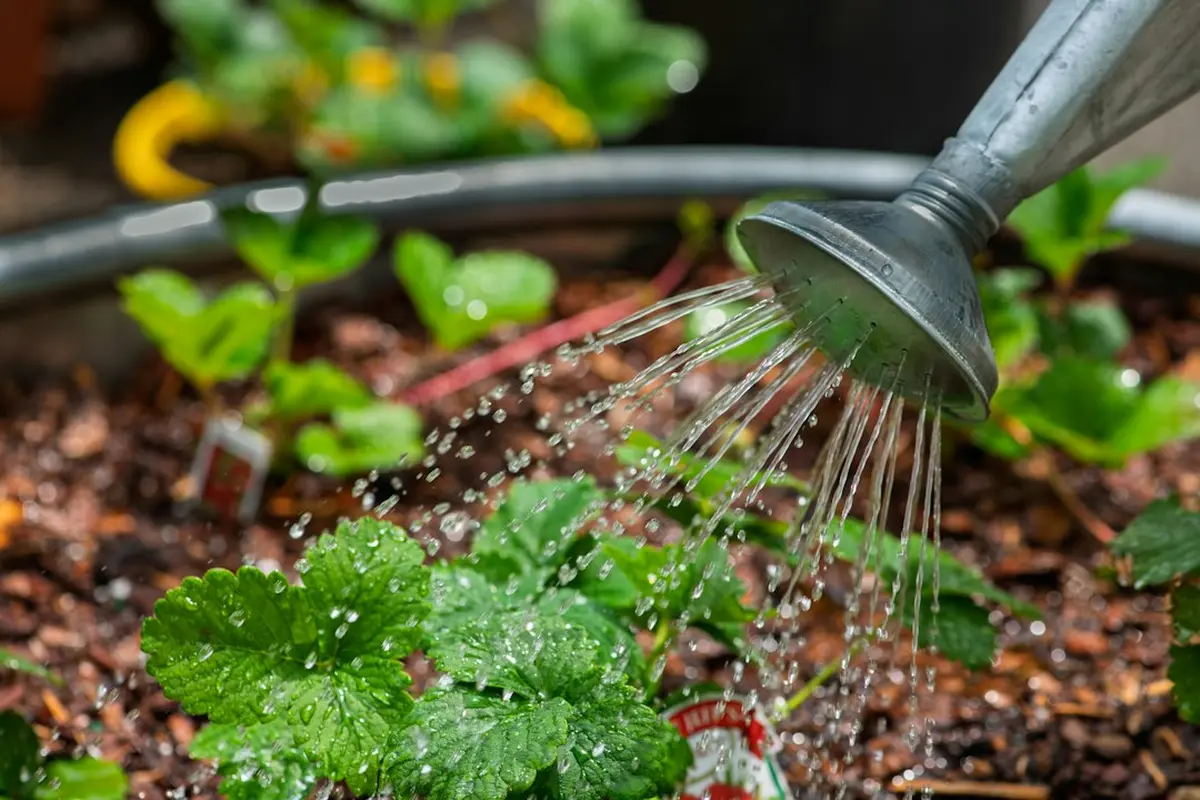
How do you fertilize container vegetables so they keep producing all summer? You mix a slow-release fertilizer into the potting mix at planting. Then you add a light liquid feed every couple of weeks once the plants are growing, and more often for tomatoes, peppers and other long-season crops.
Each feeding takes a few minutes. Before you start, know why pots need this when garden beds often do not. Every time you water until it drains, some nutrients drain out with it. As Penn State Extension puts it, "Plants only have access to the nutrients available in their pot."
What you need
-
A slow-release granular vegetable fertilizer
Espoma Tomato-tone and Espoma Garden-tone are common organic choices. The University of Maryland Extension suggests a fertilizer near a 3-1-2 ratio of nitrogen, phosphorus and potassium (N-P-K), the three numbers on the bag.
-
A liquid or water-soluble fertilizer
Examples are Neptune's Harvest Fish & Seaweed Fertilizer (organic) and Miracle-Gro Water Soluble All Purpose Plant Food (synthetic). Jobe's Organics Vegetable & Tomato Fertilizer Spikes are a slow-feed alternative to granules.
-
A watering can and a measuring spoon
The spoon is for mixing liquid feed at the strength the label gives.
-
The potting mix bag, or its label
You need to know how much compost is in the mix.
The research behind this page does not include the label N-P-K or the maker's feeding schedule for any of these five products. Read both off the package before you buy, and follow the maker's rate. If you have not yet chosen pots, the minimum container volume matters too, because a small pot drains its nutrients faster.
Feeding a potted vegetable, start to finish
-
Check the potting mix for compost. Commercial soilless mixes hold only small amounts of fertilizer. If the mix is about half compost, the University of Maryland Extension says to cut fertilizer amounts in half and wait until plants are actively growing. Worked when: you know whether to use the full rate or half.
-
Mix slow-release granules into the top 2 to 4 inches of mix at planting. Keep the granules off the leaves and never pile them against a stem. Worked when: the surface looks clean and there is no fertilizer touching the plant.
-
Wait about two weeks, until you see new growth. Harvest to Table suggests starting liquid feeding at this point. Worked when: new leaves are unfolding.
-
Water the pot with plain water. Fertilizing bone-dry mix risks burning roots. Worked when: the mix is evenly damp.
-
Mix the liquid feed at the label rate, or at half strength. One guide prefers two half-strength feedings to one full-strength feeding. Worked when: the solution is mixed and the measuring spoon is rinsed.
-
Pour the feed at the base of each plant. Worked when: you see a little run from the drainage holes.
-
Repeat the liquid feed on a schedule. The UMD Extension recommends light feeding every two weeks for tomatoes, peppers, cucumbers and eggplant. Penn State gives a range of every 2 to 4 weeks for the season. Lean toward the shorter interval once plants are fruiting and the weather is hot. Tomatoes and leafy greens need more nitrogen than beans, so greens often get the same schedule. Worked when: leaves stay green from the bottom up.
-
Add granules again at midseason. The UMD Extension says slow-release fertilizer feeds for 2 to 3 months, so a May planting runs low around July or August. Pull back any mulch, work the granules in as in step 2, and put the mulch back. Worked when: growth holds steady into late summer.
When the leaves tell you something is off
Your pots now have a base feed that lasts a couple of months, a liquid routine on top of it, and a way to read the leaves when the balance tips. Feeding and watering are linked, so the next thing to get right is how much water each pot gets.
How do you know when a pot needs water?
The finger test and the drain-through method, for pots that dry faster than garden soil.
Read how often to water
Comments
No comments yet. Be the first to comment!
Leave a Comment